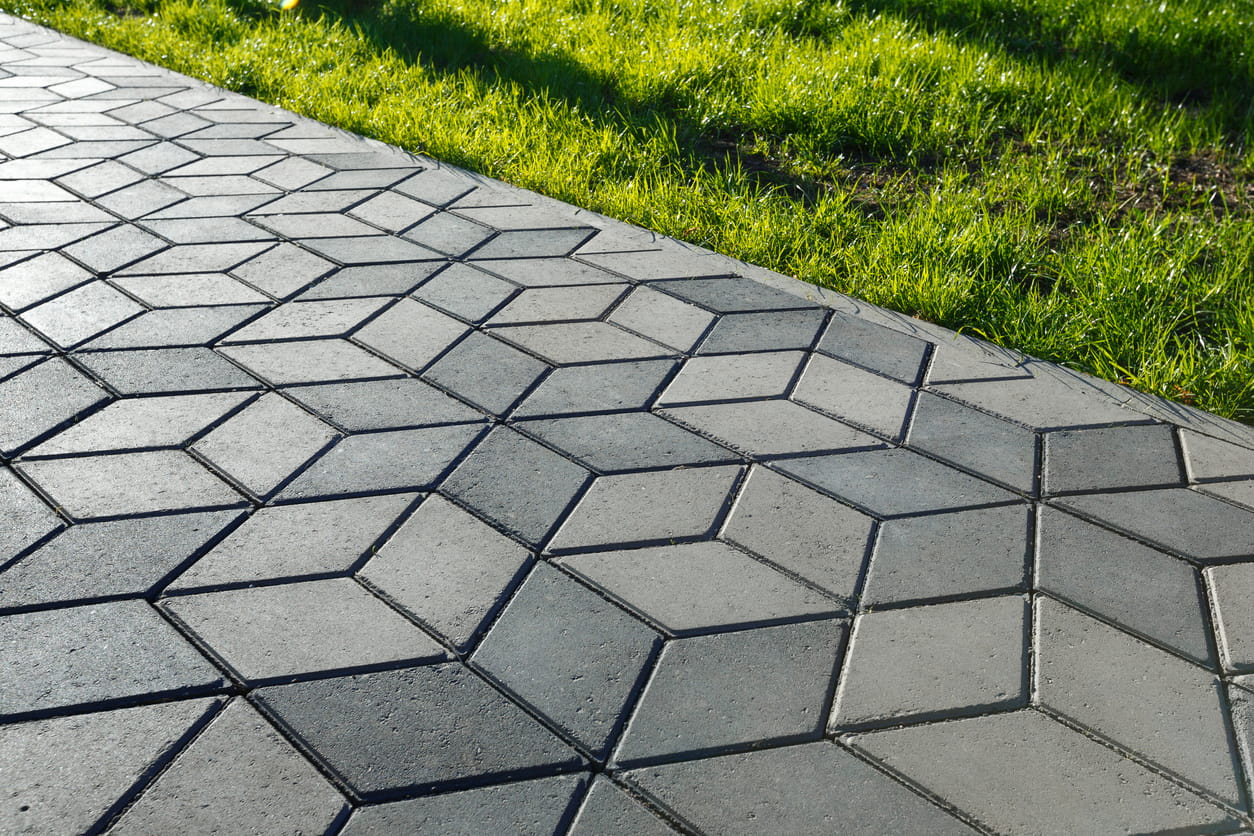
You are thinking about beautification and want to install interlocking pavers around your home. You may be wondering, “Is sealing them something I really have to do?” Well, YES, because sealing your interlock provides paver protection from Canadian winters, colour preservation, and weed prevention. This blog will outline how to conduct interlock maintenance and patio stone care, so you can protect your paver investment and make your home’s appearance spectacular.

Tools & Materials You’ll Need to Seal Interlocking Pavers

What tools do I need to seal my interlock?

  • Garden hose – Water for cleaning the pavers and misting the sand.
  • Stain remover – Remove those nasty stains before sealing.
  • Broom / nylon bristle brush – Sweep the pavers and distribute sand evenly. 
  • Sand – Polymeric sand fills the gaps between pavers.
  • Acrylic sealant – The sealant affects the appearance and durability of pavers. 
  • Paint roller or sprayer – Used to apply the sealant across the pavers.

Step-by-Step: How to Seal Your Interlock Pavers

Follow these 7 professional steps to clean, prep, and seal your pavers correctly.

Using a broom, hose, power washer, or a combination, clear away and remove any dirt, leaves, or mud from your pavers. You can pressure wash your interlock, but be carful not to wash down deeply between your pavers. Take 48 hours after power washing to ensure the pavers are dry enough for sealing.

For a deep cleaning, thoroughly mix a regular household detergent with water in a bucket without creating too many suds: 15ml (1 tbsp) of detergent for every 4 litres (1 gal) of water. Purex laundry detergents are also known to be paver-safe and assist in stain removal.

Pour the mix onto your pavers to eat away at the dirt and stains. Let it sit for 20 minutes before cleaning your interlock pavers. Try not to soak too large of an area at once or portions might dry before you can get to them. Scrub with a nylon bristle brush and completely rinse the paver to remove detergent and bubbles.

Stubborn stains that come from oil, tire marks, or bird droppings may need extra attention before sealing. To remove stains from interlock pavers, there are a number of brick cleaners available at your local hardware outlets. Start with a milder solution first, and test that in an out of the way spot. Avoid solutions with muriatic acid as it can damage your pavers.

Power-washing and scrubbing can remove the sand between your pavers. A polymeric sand should be used to fill the gap, and the level of polymeric sand between pavers should reach about 1/2 way up the depth of the pavers. Spread the sand and gently sweep it into the gaps. When desired sand height has been met, sweep up the excess, and mist the pavers with water to create a bond between the sand particles.

Make sure that your pavers and joints have time (60-90 days) to allow for curing and drying after being newly installed. When the time has come to apply paver sealant, you have options on how to seal your interlock. If you use a brush, it is slower, but you can lay down a thicker coat, have more control of where the sealant goes, and it is more cost effective. If you use a sprayer, you will need to mask non-paver surfaces, but it is faster, you can get a more consistent finish, and the spray can get into smaller cracks.

Depending on the temperature and humidity levels, allow for 2 to 24 hours for your sealant to dry before applying a second coat. Ideal weather includes temperatures between 10-29°C (50-85°F), windless, low humidity, and no rain for at least two days. Don’t walk or drive on it until it is dry, and turn off automatic sprinklers. 

Use a clean dry roller to remove extra sealant that may have puddled. Any spills of the sealant need to be cleaned immediately, so be aware of the sealant’s manufacturer’s instructions.


How Often Should You Reseal Interlock Pavers?

How long does interlock sealer last? Every 2 to 3 years is a common time span before re-applying sealant. That could extend another year or so if your pavers experience little traffic and you used a high-grade sealant.

Also, if you see signs of dull, faded pavers, water failing to bead on top, plant growth between the pavers, or loss of jointing sand, it is time to re-apply.

front porch interlocking

Avoid These Common Mistakes When Sealing Interlock

These are the most common mistakes that people make when applying interlock pavers themselves.

  • Sealing too soon after installation – You need to wait at least 30 to 90 days after installation to allow full curing of the pavers. 
  • Not cleaning efflorescence – Efflorescence is the internal water-soluble salt that crystallizes on top of the pavers as the salts dissolve and resettle. This residue must be washed away completely before sealing.
  • Skipping joint sand – If jointing sand is at insufficient levels, you run the risk of pavers shifting or sinking, weeds taking root, or even pavers cracking or breaking. 
  • Over-applying sealer – Beyond an obvious increase in drying time, a thick coating of sealant could cause bubbles, an uneven finish, a sticky or slippery finish, and/or ‘blushing’ – a hazy white finish.

Keep Your Patio, Driveway or Walkway Looking New Year-Round

Interlock pavers are an investment in your home, and sealing them not only makes them beautiful but also protects your investment. It is important to seasonally maintain your pavers every quarter.

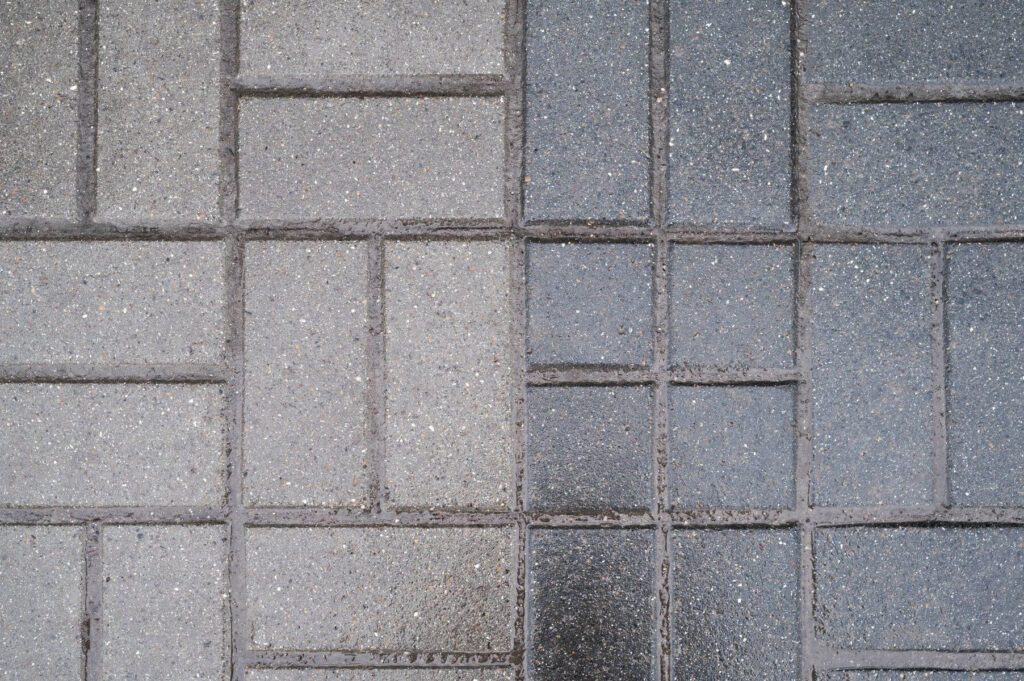
Give them a complete cleaning with a nylon-bristle broom or leaf blower and combat stains. Be sure to avoid stiff metal brushes, and if you power wash, do it carefully on a low setting. In the winter, stay away from de-icing salts on your pavers as these salts can cause damage.

Need Help Sealing Your Interlock? Let the Experts Handle It

Should you need help with sealing your interlock, Interlock Driveway is available to take that formidable responsibility off your shoulders. With over a decade of highly regarded service in the GTA, we are dedicated to fulfilling all your interlocking needs, including a free consultation, expert advice, or bulk supply pickup.

Contact us to hear about our affordable landscaping services. You worked hard on your landscaping – don’t let it fade.

Leave a Reply

Your email address will not be published. Required fields are marked *